This guide covers in-depth how I develop my black and white analog film with instant coffee. It mentions the brands of products I use, the tools I use, what tools are required, how long I develop different films, and contains examples of various films and cameras.
Note: this is the formula I use and that works for me and my standard. You may have different expectations for your images, I suggest shooting a few test rolls before doing DIY development on any important photos!
Tools
Required tools
The following tools are absolutely necessary for good results
- a bottle opener, film leader retriever, or another strip of film to get the film out of the canister.
- The bottle opener will destroy the canister, the leader retriever will not
- Here’s a video from Lomography on instagram
- scissors for cutting the film
- A development tank (I use this one)
That’s it. Without the tank your photos will look like my first try, when I put the photos in a bottle without putting them on a spool.
Optional tools
- A dark bottle for storing the fixer (I use an old olive oil bottle)
- A funnel for pouring the fixer back into the storage bottle
- A spoon for mixing the ingredients
- A fine scale (accurate to the gram) for measuring ingredients
- a beaker for mixing all ingredients
Chemicals and ingredients
- Instant coffee (with caffeine, as cheap as possible)
- Washing soda powder
- Vitamin C powder
- Salt with iodine
- Tap water
- Photo Fixer (I use Ilford Rapid Fixer)
I use the following products:
- AMAROY Express Kaffee Classic from Aldi Süd
- Heitmann Pure Reine Wasch Soda from DM
- Mivolis Vitamin C Pulver from DM
- Saphir Meersalz jodiert from DM
The total for all ingredients is 7,64EUR which is the cost of developing one roll of Black and White film with my local lab.
The fixer costs 14,95EUR as of this writing but can be used multiple times.
Fixer is a chemical that can be reused and CANNOT be disposed in the sink. It’s harmful for the environment and must be disposed at special waste side (Mülldeponie in Germany, for example). Check your local laws.
Mixing the ingredients
- Put 500ml of warm tap water into a beaker
- Add 20g of instant coffee powder, stir until dissolved
- Add 27g of washing soda, stir again for a bit
- Add 8g of vitamin C powder and 10g of salt, stir again
- Let the solution sit for a bit so it can dissolve, if there are bubbles wait or stir slowly to get rid of them
Getting the film out of the film canister
This step must be done in total darkness. Otherwise you light leak your film and potentially destroy it. I use my bathroom which has no windows and is near total darkness with the door shut, I’m still trying to hurry up and be quick with this step.
- Place all tools around you so that you find them in the dark
- turn off the light
- Take the bottle opener and force open the film canister, then take out the film
- Alternatively use the wet film strip or a leader retriever
- Cut the first few centimetres of film (where the film is curved) (see image below)
- Take the spool and load the film, this requires some time and can be quite frustrating
- Once the film is on the spool, keep moving the spool parts until the whole roll is loaded
- Cut off the plastic spool at the end of the film
- Put the spool into the development tank and close it
- Turn on the light again, as the film is now light sealed. The rest of the work can be done with the lights on.

Development times
I use the following times with the formula above:
ISO 100 = 12 minutes
ISO 200 = 13 minutes
ISO 400 = 14:30 minutes
These times work for me, you can also vary them. In the examples below you can see some shots of Agfa APX 100 (ISO 100) developed for 13 minutes, as far as I can observe this increases the contrast and makes the shadows darker.
Fill the tank with Caffenol
Now open the lid of your tank and pour in the Caffenol solution. Start a timer immediately when you begin putting in the solution. Agitate the tank for 60 seconds, then bump it on the table a few times to make all bubbles go to the top. This isn’t required but good practice.
Agitate the tank three times every minute for the rest of the development time.
When the timer is up, open the lid and pour out the caffenol mix, this can go into the sink. Fill the tank with water and pour it out, repeat until the water coming out is clean.
Now get the fixer and add it into the tank. Depending on the fixer you may need to mix it with water.
After filling the fixer, agitate for 10 seconds. Repeat this every minute.
The fixing takes 3-5 minutes depending on the film and product used, refer to the manual of your fixer for exact times.
After the time is up, pour the fixer into a bottle (should be dark, preferably black or brown glass). The fixer can be reused next time!
Wash your film with water now.
- Fill the tank with water, agitate 5 times, pour water out
- Fill the tank, agitate 10 times, pour out
- Fill the tank, agitate 20 times, pour out
Now the film can be washed with a drop of dish soap, then remove any extra water with your fingers. In my experience this helps a lot with stains on the film so I always do it.

That’s it! The film is now developed and the spool can be taken out. Don’t worry if the film looks very dark, it can take some time for the images to show properly and some films like Fomapan look very dark in general while Agfa APX looks more blueish.
Drying the film

To dry the film I put a stick up on a crate high up a shelf and clip the film with clothes pegs to keep it straight. I put one clip on the top as shown in the image and one at the bottom to keep the film straight while it is drying.
The film takes a few hours to dry, then it can be scanned.
Scanning
As with lab developed film I scan my films using a Kodak Mini Scanner. It’s good enough for Instagram and this website and smaller prints will probably work fine as well. For bigger scans I’d get my negatives scanned at a lab or photo store again.
After scanning I upload the photos to my Nextcloud, from where I download them to my phone for retouching with Snapseed if necessary.
Storing negatives
After scanning I cut my negatives and put them into plastic sheets which I store in a folder. I’ve no label or organisation system yet, so it’s just one big folder with all my negatives.
If you made it all the way down here, let me know what you think in the comments below or on Instagram, and show me your first DIY developed photos if to develop some!
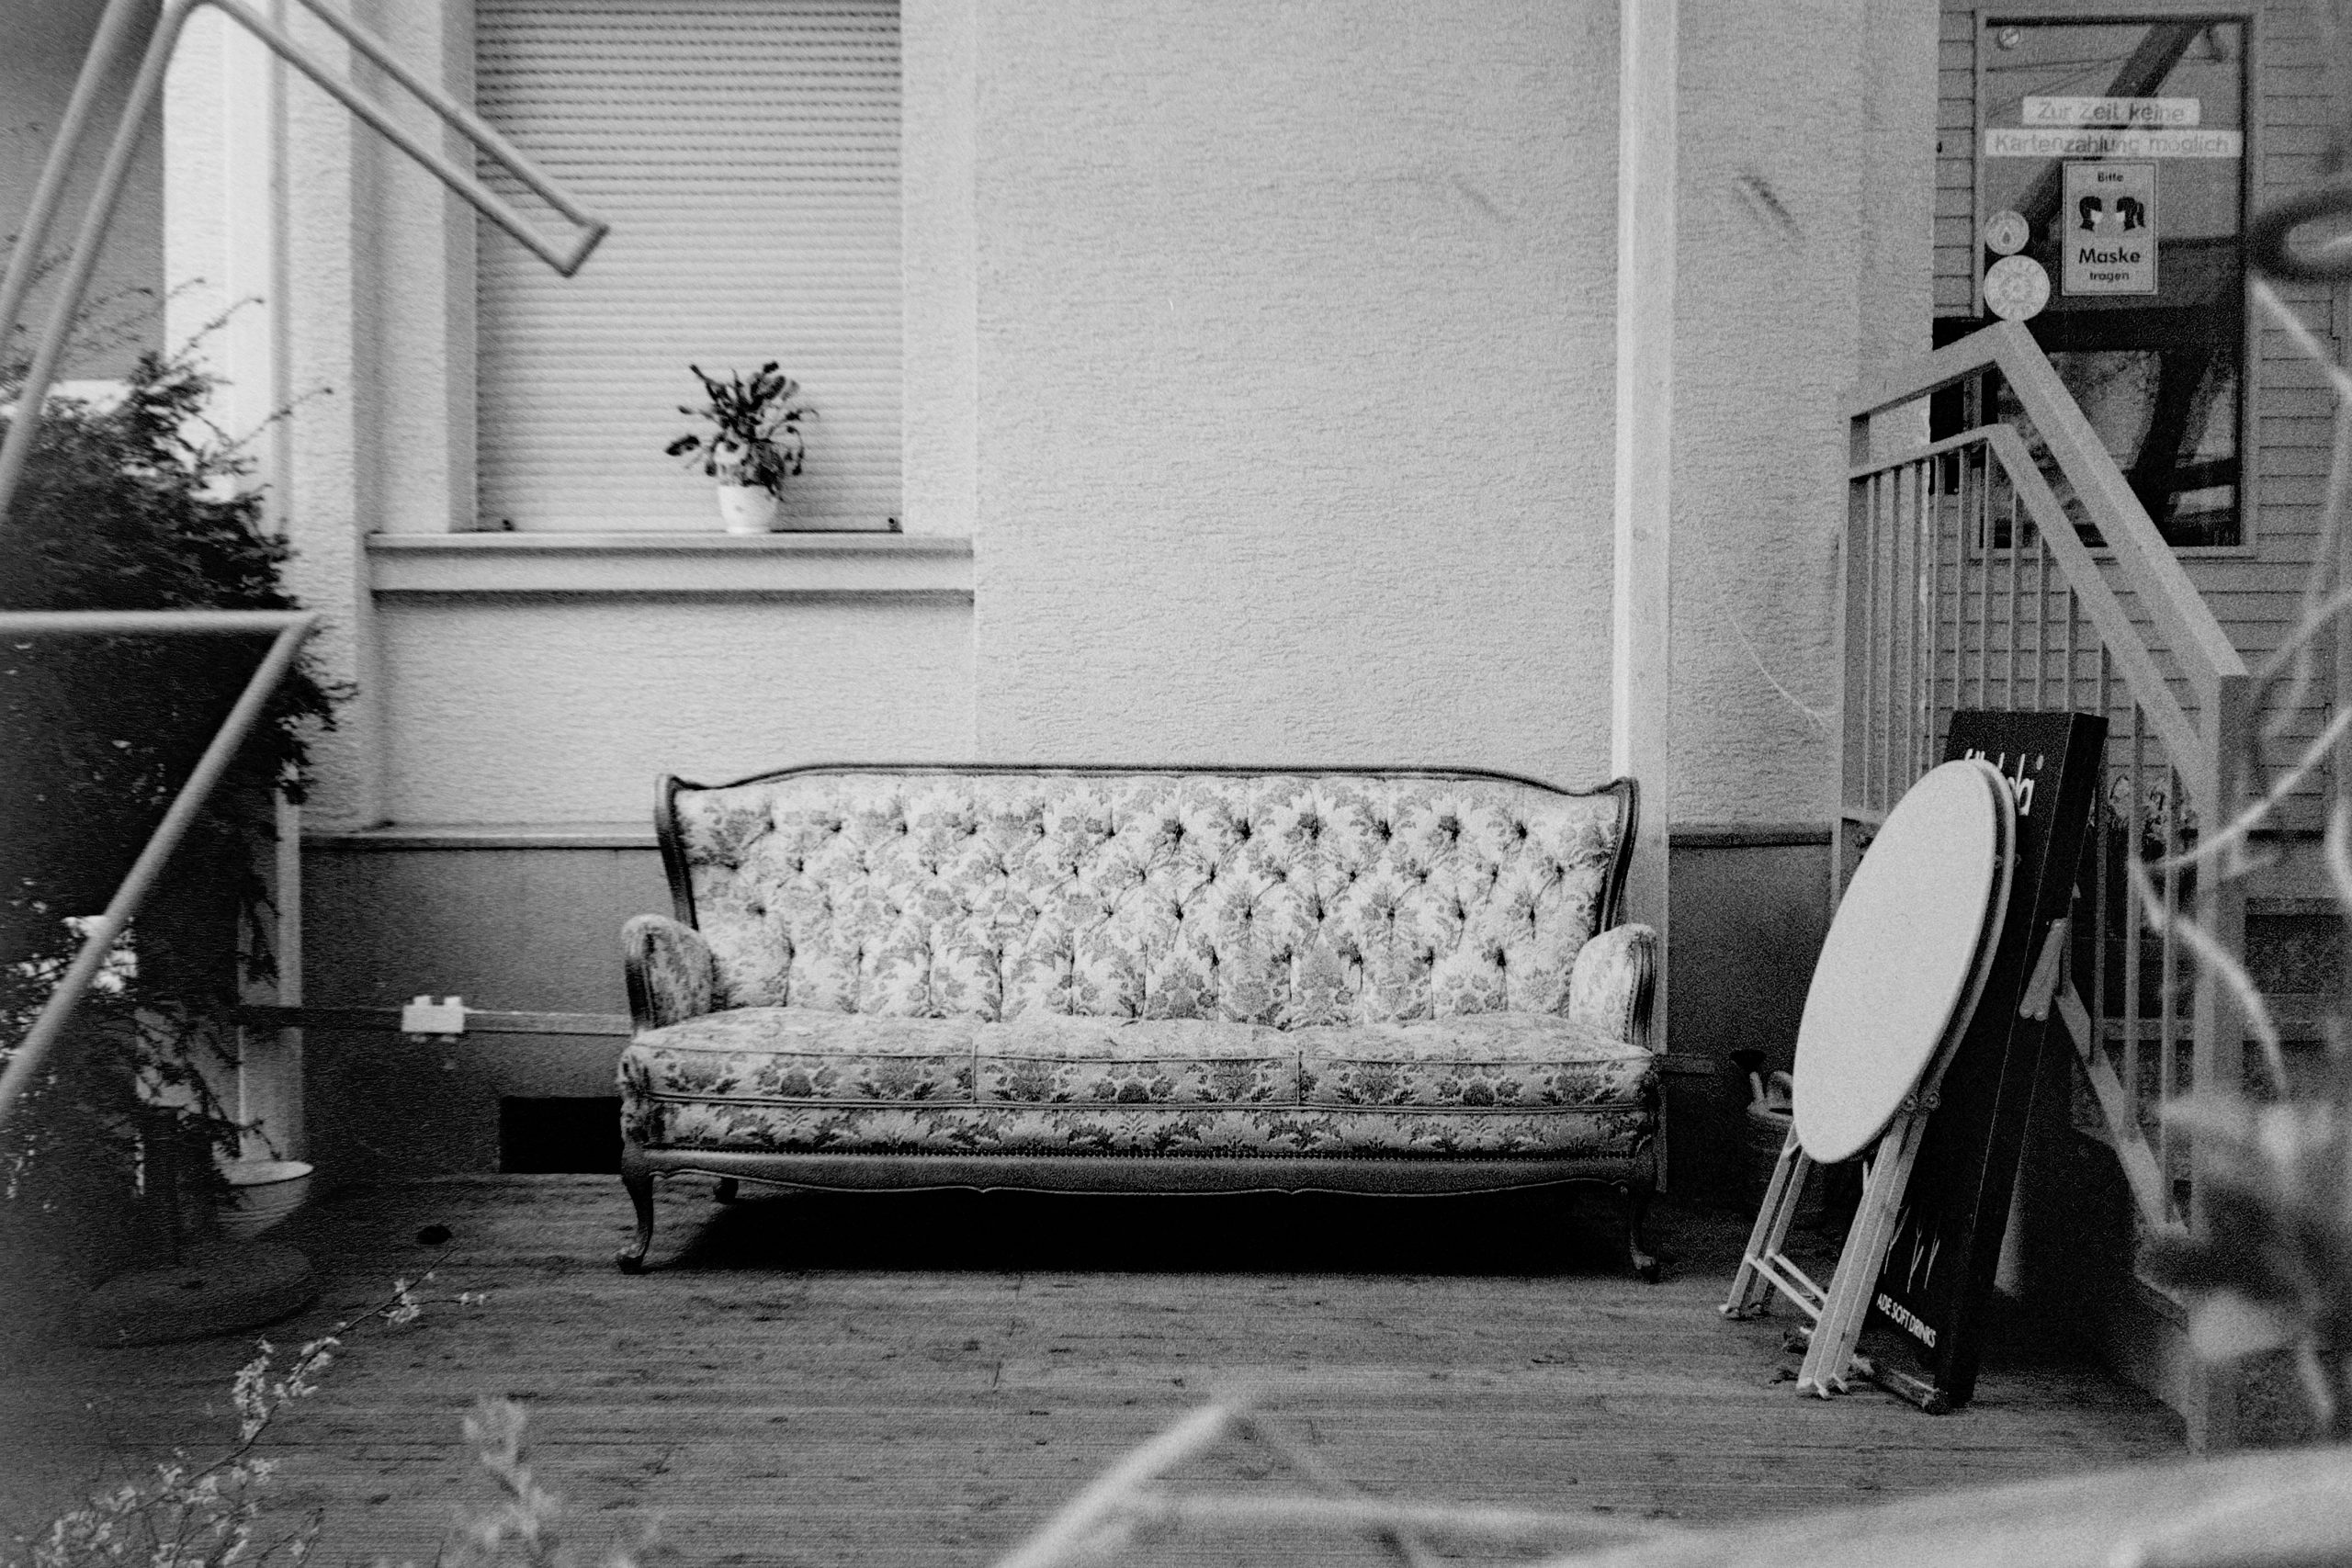
Below you can find a few photos I’ve developed using Caffenol.


I absolutely love the Agfa APX 100 shot at 200 (pushed one stop). I’ll definitely push this film again.
All of these images are unedited and out of scanner.
You can check my Lomography page for more images.
Notes
Some notes about this post and developing with Caffenol
- Development will only work for black and white films, films requiring C-41 or E-6 processing will not work or come out sepia. Experiment if you want!
- Ilford XP2 Super cannot be developed in Caffenol since it’s a C-41 black and white film
- This post contains links to fotoimpex.de for equipment. These are not sponsored, I’m linking to them because I believe they’re a good store and I’m a happy customer.
- All mentions of brands in general are only for the purpose of replicating the results as close as possible, and are not endorsements unless explicitly noted!
Leave a Reply